Are you aware of the three signals indicating when it’s time to repot your orchids? Let’s explore these signs to help you identify when to enhance the well-being of your magnificent plants.
Do you often find yourself uncertain about the optimal time to repot your orchids? Fret not; there are three distinctive signs that can guide you in determining the opportune moment. Let’s delve into these indicators, enabling you to embark on repotting and enjoy splendid blossoms!
Repotting Frequency for Orchids
One of the most captivating plants to cultivate indoors is undoubtedly the orchid. Renowned for its alluring fragrance and delicate flowers, this plant is an exquisite addition to any living space. While not challenging to nurture, it’s crucial to discern when it requires repotting for robust growth and prolific blooming.

Typically, orchids should be repotted every two to three years. This interval ensures that, as the plant grows, it has sufficient space for root development. Recognizing the signs indicating the need for repotting is essential to prevent neglect and foster the plant’s health. Let’s unveil the three key signals that indicate it’s time to repot your orchids!
Three Signs to Repot Orchids
To promote luxuriant growth and enduring flowering, understanding when to repot orchids is paramount, usually occurring every two to three years. However, specific signs may suggest the need for repotting sooner, necessitating prompt attention to ensure the plant’s vitality.
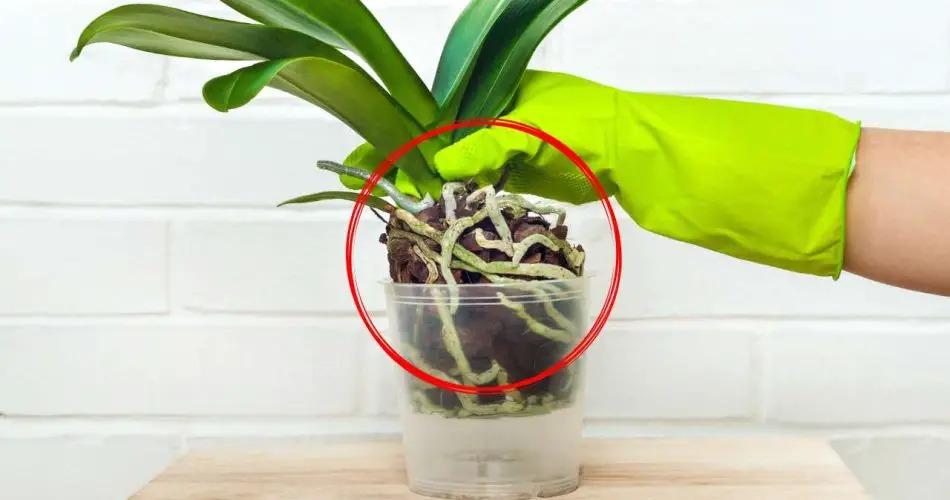
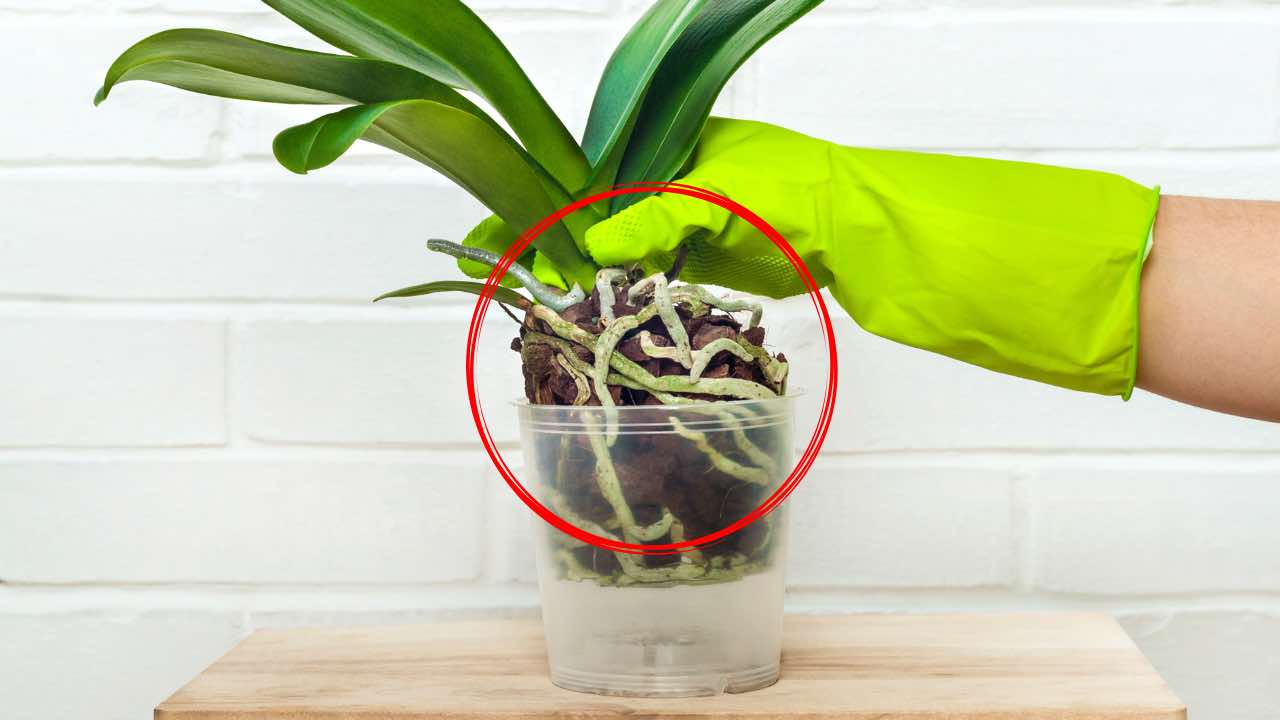
- Pot Overflowing with Roots:
- When roots extend through the drainage holes, signaling overcrowding, it indicates that the pot has become too small for the orchid. Repotting is essential to accommodate the plant’s growth.
- Presence of Mold on Roots:
- Mold on the roots, resulting from excessively moist soil causing water stagnation, serves as a warning sign. This occurrence signals the imperative need to change the orchid’s pot promptly.
- Yellow, Drooping Leaves:
- If the leaves exhibit a yellow hue and droop low, with stems showing signs of drying out, it’s a clear indication that repotting is immediately necessary.

Orchid Repotting Procedure
Repotting orchids is a crucial undertaking that demands careful execution to avoid damaging the delicate roots. Here’s a step-by-step guide:
- Gently Extract the Plant:
- Carefully remove the orchid from its pot, ensuring minimal disturbance to the roots.
- Free the Roots and Inspect:
- Liberally free the roots from the soil, inspecting for any breakage or dryness. Trim unhealthy sections with shears, removing yellowed leaves and dry stems.
- Prepare New Soil Bed:
- Prior to repotting, obtain bark pieces to create a suitable layer for root accommodation.
- Replant the Orchid:
- Place the orchid in the new pot, folding its roots downward. Add prepared soil between the roots, arranging it meticulously with hands or a garden trowel.
- Complete the Repotting:
- Fill any remaining gaps between roots with soil, and proceed to water the plant. Maintain moisture in the subsequent three days.
With these steps, the orchid repotting process is accomplished, ensuring the plant’s vitality and setting the stage for continued growth and blooming.