Extend the lifespan of your orchid with the bottle method. Discover the essential steps and required materials for a highly effective tactic that will become indispensable. Simply follow the presented instructions to ensure optimal results. All the pertinent details are outlined below.
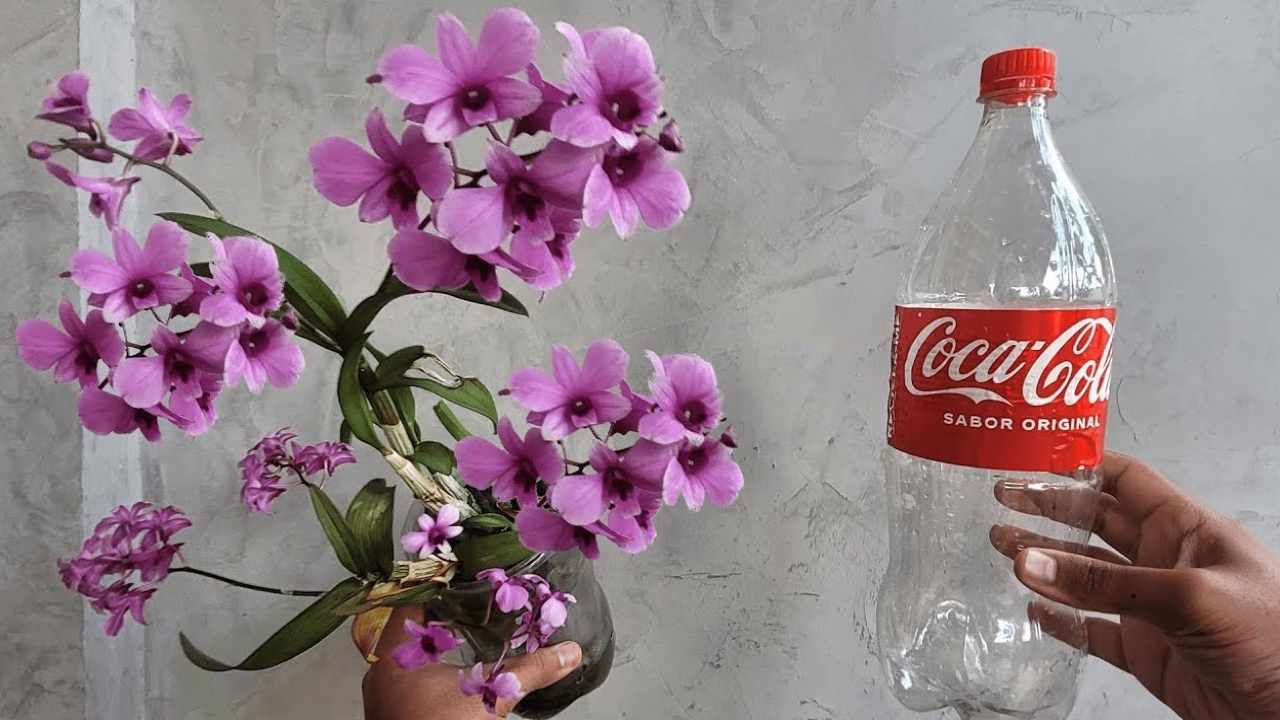
For extending the longevity of plants like orchids, there exists a highly effective method that is well-regarded by experts in the field, including nurserymen. Referred to as the “bottle method,” this technique proves invaluable for ensuring a longer life for your orchid. Let’s delve into the specifics of what this method entails.
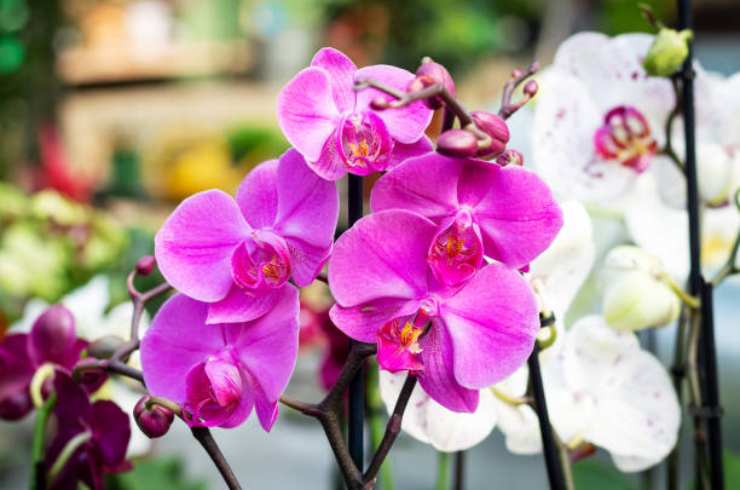
Bottle Method: Maintaining Orchid Plants in Excellent Condition
For orchid enthusiasts, understanding the best practices for their care is of paramount importance. When you have orchids at home, knowing how to tend to them appropriately becomes essential.

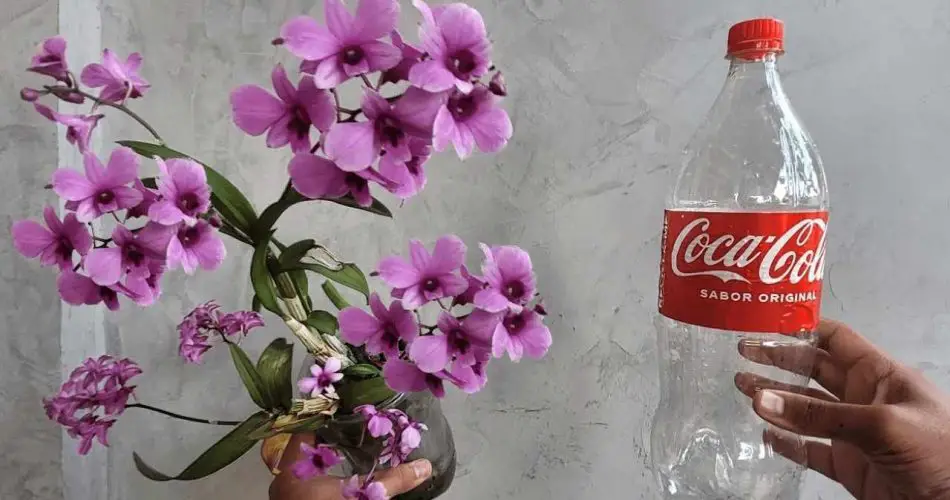
This is a crucial consideration as the transparency of the bottle is essential for the success of the method. To begin, remove the label encircling the bottle, and proceed to the next step, which involves acquiring the second essential item for the method: a cutter.
Using the cutter, carefully cut around the central portion of the bottle, dividing it into two parts—the lower and the upper section with the cap.
Next, take a simple candle and ignite it. Once the flame is steady, place a metal tip, such as that of a knife or a heated nail, into the flame. Use the heated tip to pierce the cap of the upper part of the bottle multiple times.
Repeat the process of heating the tip and making holes, this time focusing on the upper part of the bottle beneath the cap.
Continuation of the Bottle Method Procedure:
Now, take the lower part of the bottle and, using the same method explained earlier, create holes around its base. These holes will play a crucial role in the irrigation phase.
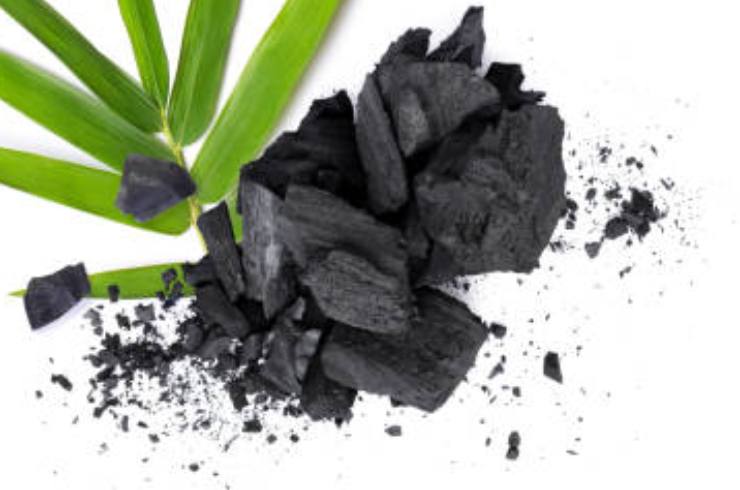
Subsequently, insert pieces of charcoal—preferably recycled from a barbecue—into the bottom of the bottle.
Begin by gliding a warm iron over the outer circumference of the upper part of the bottle to soften it, allowing it to return inward. This ensures that the edges won’t harm your orchids.
When dealing with an orchid plant with completed substrate, place it on a tray and carefully remove it from the pot to avoid damaging the roots.
Adjust the substrate manually, leaving some roots exposed. Utilize pieces of charcoal and mixed coconut fiber as the plant’s base inside the bottle.
Invert the top of the bottle onto the bottom and fill it with potassium, magnesium, and nutrient-rich charcoal pieces.
The charcoal functions to retain moisture and acts as a fertilizer.
As a final touch to this method, implement the following surprising steps.
Place the plant on the charcoal base, filling the top of the bottle with charcoal pieces.
Insert a support stick to secure the plant.
Use hooks designed for suspended jars to attach them to the top of the bottle.
Water the plant moderately and hang the plastic bottle pot with appropriate hooks.
The nutrients in the charcoal will enhance the growth and flowering of your orchid. With this method, your plant will thrive for an extended period in optimal condition.
In conclusion, grasp the significance of this method and follow the outlined steps to effectively care for your plant, ensuring its longevity. This tried-and-true method is highly recommended, producing evident and lasting results that will undoubtedly benefit your plant.