Are you a devoted flower enthusiast dealing with an orchid in distress, with signs of dehydration and rotting roots? Fear not, for there’s a way to rescue and revive your precious plant, restoring it to its former splendor. To initiate this rescue mission, start by assessing the condition of the orchid’s leaves. Are they slightly wrinkled and soft to the touch? If so, urgent intervention is required.

Rescuing an Orchid with Dry Roots: The Step-by-Step Guide
1. Evaluate the Leaves and Roots:
-
-
- Check for slightly wrinkled and soft leaves, indicative of dehydration.
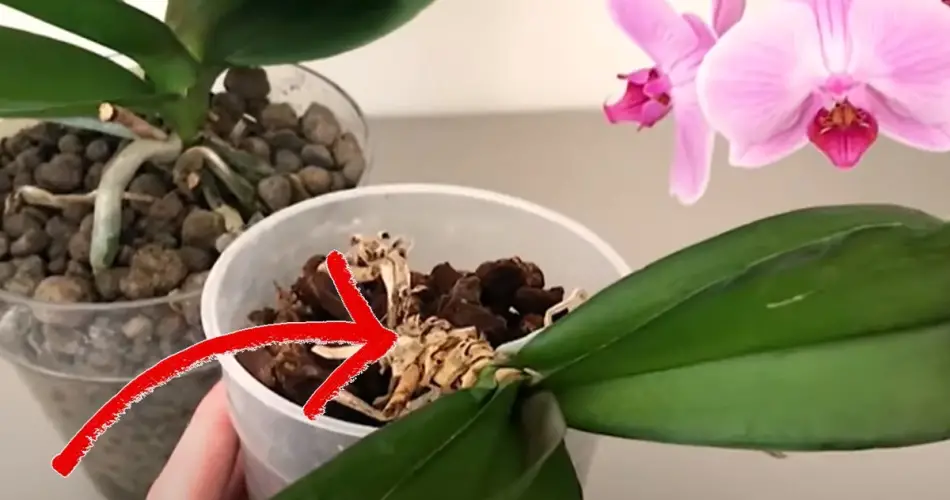
- Examine the roots beneath the soil. Rotten or completely dry roots signal inadequate nourishment and potential demise.
- Hydrotherapy for Orchid Recovery:
- Gently remove the orchid from its soil, exposing the roots.
- Discard any rotten roots that no longer contribute to the plant’s well-being.
- Ensure the orchid retains fleshy roots, crucial for rehabilitation.
- Hydration Process:
- Obtain a chalice-type glass, approximately 10-15 cm high.
- Immerse the orchid roots in water throughout the day, removing them at night to prevent rot.
- Repeat this hydrotherapy process for a week, observing the revitalization of the orchid’s leaves.
- Repotting for Continued Hydration:
- After a week of hydrotherapy, it’s time to repot the orchid.
- Place expanded clay in the saucer to support ongoing hydration.
- Add soil back into the pot, positioning the orchid and covering its roots.
- Maintain an upright position during repotting for a robust appearance and optimal water absorption through the roots.
-
Show Comments