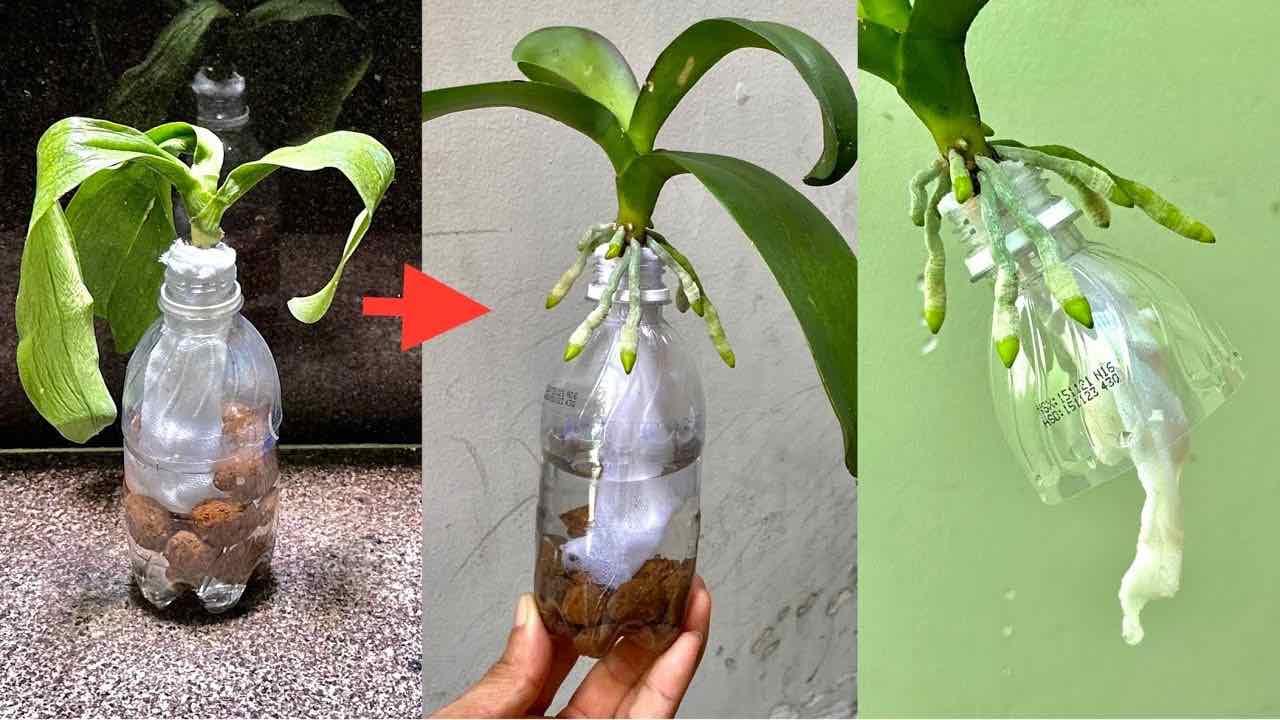
The orchid, an indoor plant well-suited for even those without a green thumb, requires minimal care, making it perfect for everyone. With a few simple tricks, you can encourage year-round blooming with minimal effort by adhering to some basic rules.
Firstly, ensure the orchid is positioned in adequate light, avoiding direct sunlight and keeping it away from frequently opened windows to prevent drafts. Additionally, moderation is key when watering, as the soil should only be kept moist. Lastly, the use of fertilizer is crucial, and there are various natural options available to assist in this regard.
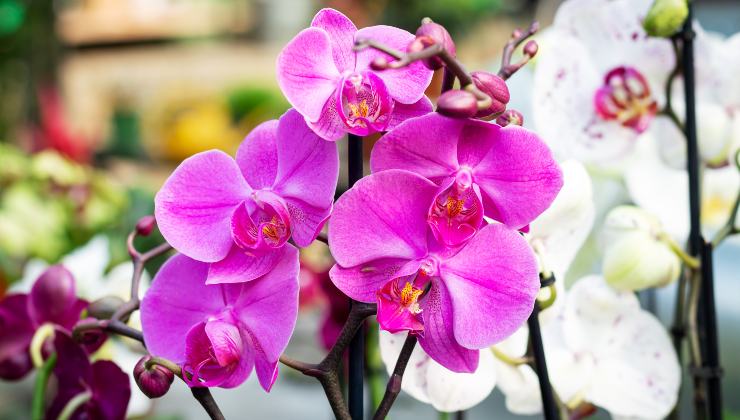
Most likely, you’re here to revive an orchid without roots, and you’re in the right place because we’ll explore the nursery method, putting your worries to rest. Below, you’ll find all the essential details to successfully rejuvenate your plant.
Reviving an Orchid Without Roots: Here’s What to Do
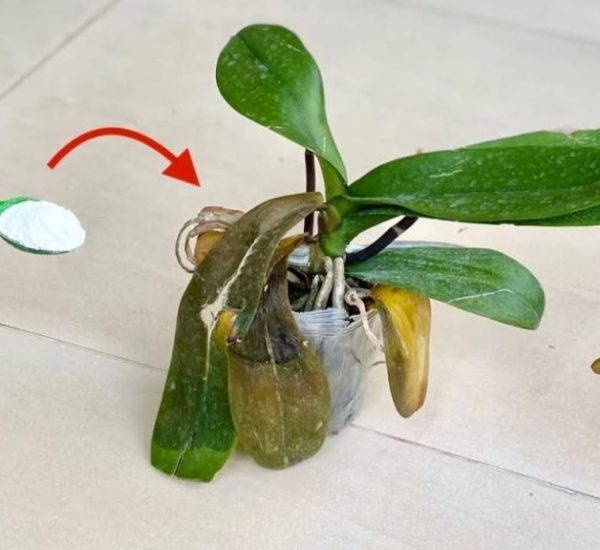
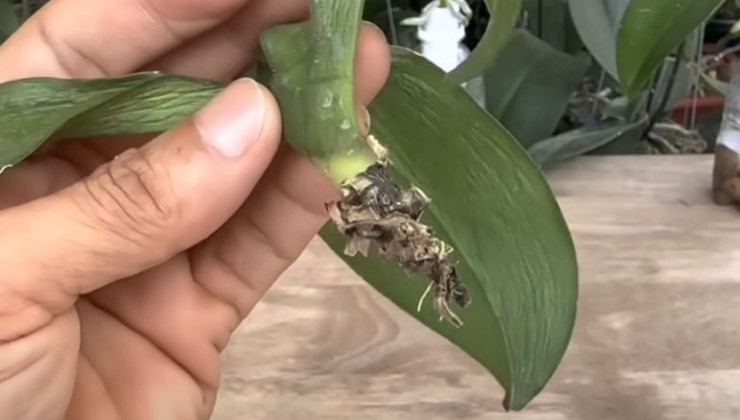
As mentioned, let’s dive into reviving an orchid lacking roots. The process is straightforward, suitable even for beginners. If you have an orchid without roots, rest assured that there’s no need to discard it; there’s a way to bring it back to life. Begin by taking your orchid with dried roots and trimming them if they are entirely black.
The ideal color for healthy roots is green with a tendency toward gray, so eliminate any roots that do not match this color. Only the base of the plant should remain, and you’ll want to clean it thoroughly, using scissors if necessary. Now, introduce garlic into the process. This ingredient, known for its antibacterial properties, serves as an excellent antiseptic to aid in the revival process.
Grab a garlic clove and place it in a bowl. Using a garlic squeezer or mortar, extract the juice. Next, add half a liter of water and filter it to eliminate any residue. Dampen a cotton pad in the garlic-infused water and gently wipe it over all the plant’s leaves.
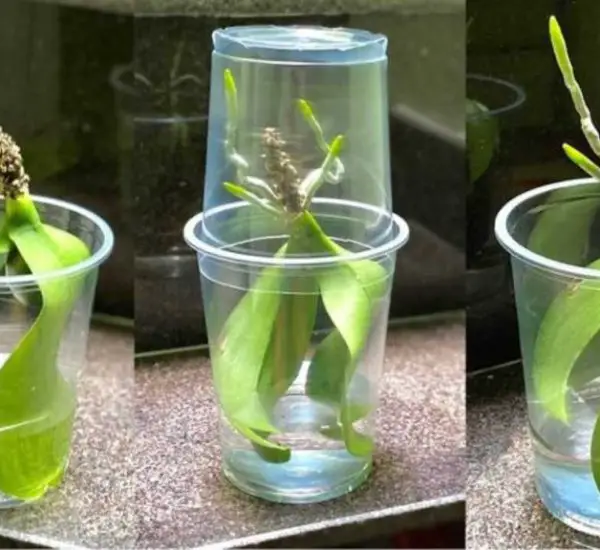
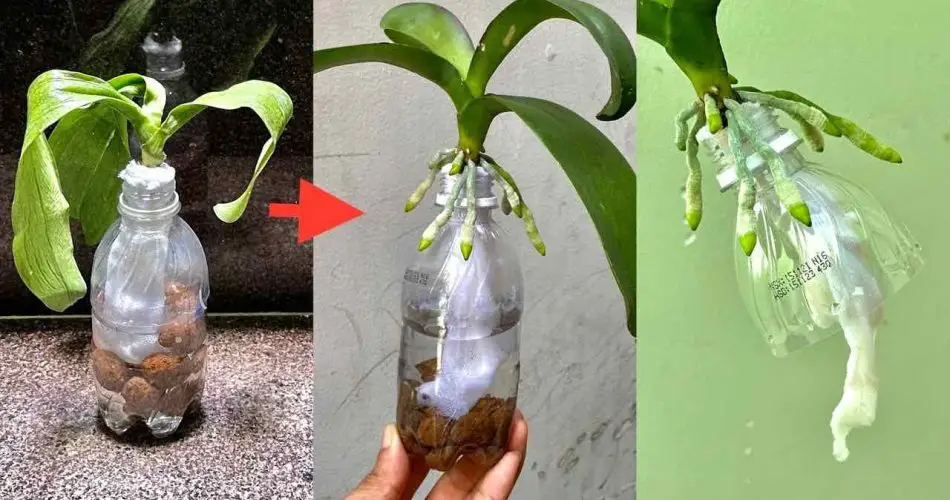
Subsequently, take a glass and position the plant’s base at the bottom, pouring garlic water until it covers the roots. Allow it to sit in this manner for approximately 30 minutes. Introduce clay pellets into the remaining water and place them in the pot. Cover the top with a soft, highly absorbent cloth like gauze.
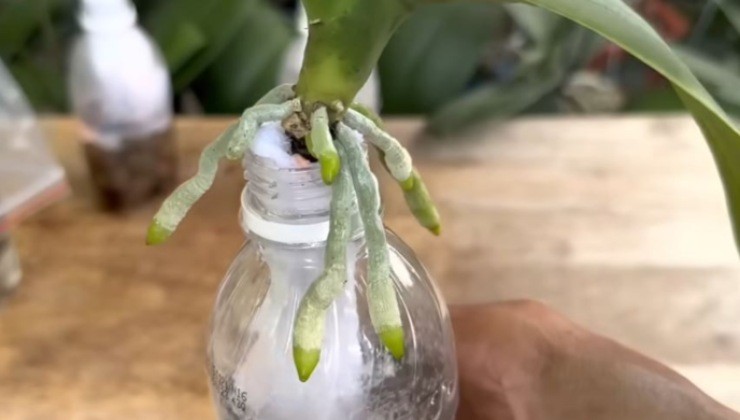
Grab a garlic clove and place it in a bowl. Using a garlic squeezer or mortar, extract the juice. Next, add half a liter of water and filter it to eliminate any residue. Dampen a cotton pad in the garlic-infused water and gently wipe it over all the plant’s leaves.
Subsequently, take a glass and position the plant’s base at the bottom, pouring garlic water until it covers the roots. Allow it to sit in this manner for approximately 30 minutes. Introduce clay pellets into the remaining water and place them in the pot. Cover the top with a soft, highly absorbent cloth like gauze.